
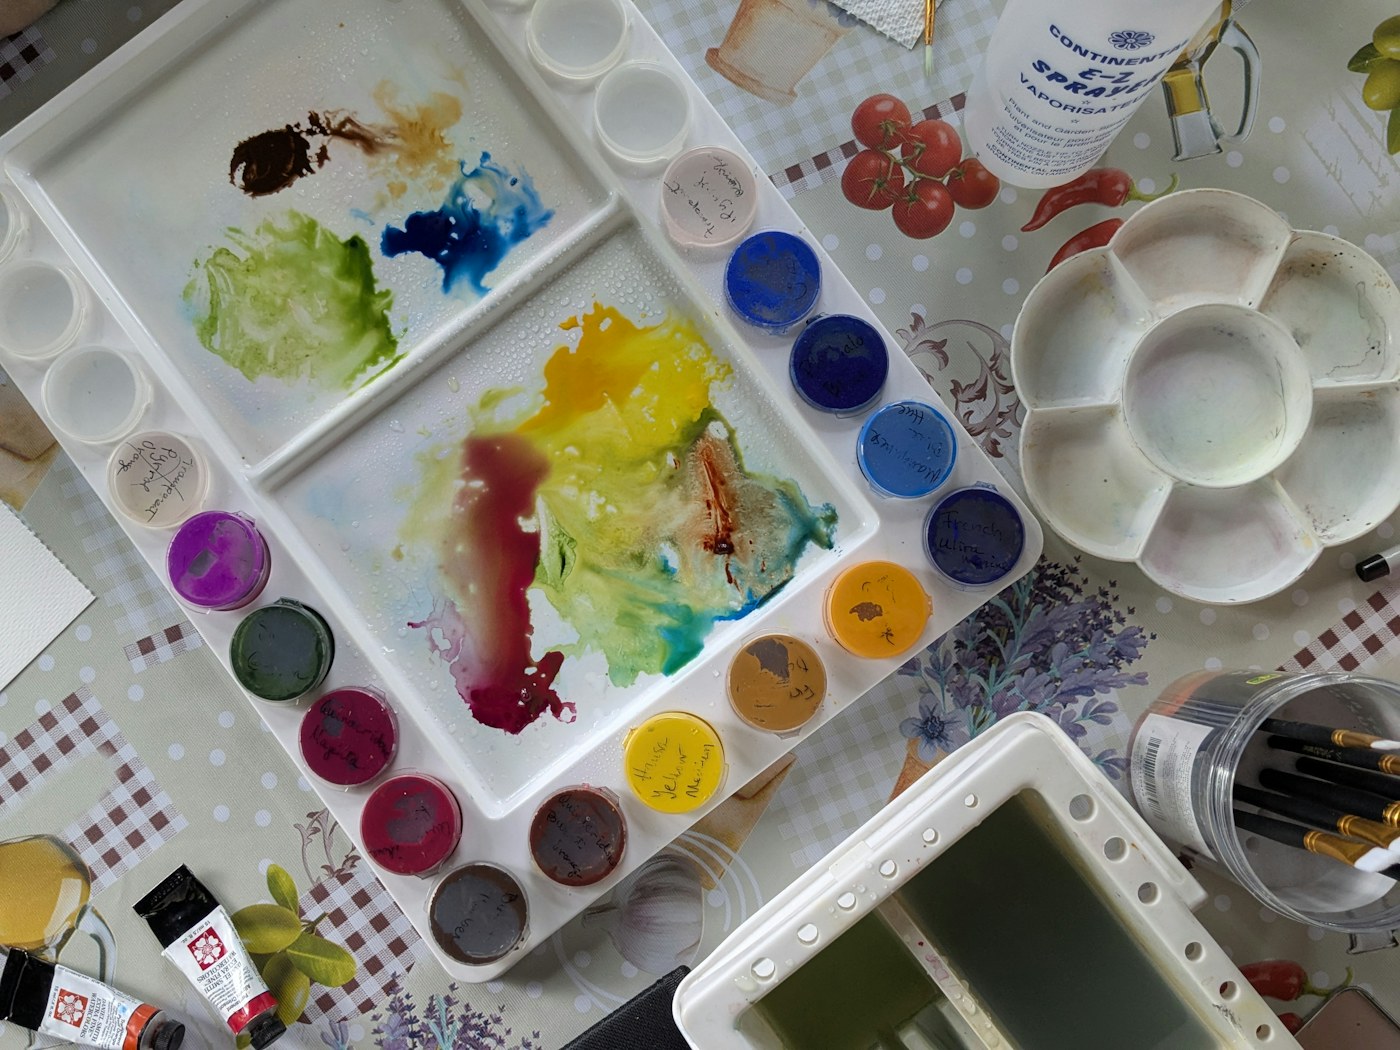
An art kit is useful when a child can find what they need and an adult can say yes without anticipating an hour of cleanup. It does not need to contain every kind of paint, glue, or decorative paper. A small, reliable collection can support more making than an overflowing cupboard of half-working supplies. The starting point is your household's actual space, the child's interests, and the level of supervision available. This guide focuses on choosing and arranging everyday materials for children, with clear boundaries around tools and mess. It is not a shopping list of essential products, and it does not assume that independent access is appropriate for every item or every child.
Define the kind of making the kit supports
Begin with one or two activities your child already enjoys. Drawing and paper collage need a different setup from painting or modeling. Write down what is used repeatedly and what tends to remain untouched. A child who likes making maps may need large paper, pencils, and a way to join sheets. Another who enjoys color mixing may need a washable surface and a small selection of suitable paints. You can expand later. A kit built around real habits is easier to maintain than one designed to represent every creative possibility. Do not buy a specialized tool merely because it looks educational. First consider whether it solves a problem the child actually encounters while making.
Check suitability before making materials accessible
Read age guidance and safety instructions, and use materials intended for children's art where appropriate. Store sharp tools, solvents, hot equipment, and other unsuitable supplies separately. Washable does not mean edible, and non-toxic materials still need to be used as directed. Consider allergies, skin sensitivities, and children who mouth objects. Small loose decorations, caps, and broken tool parts may present hazards, especially around younger siblings. Keep adult supervision matched to the activity rather than assuming the label replaces it. A clearly separated adult-help container can make access understandable: some things are available for everyday use, while others are brought out together for a specific task.
Choose containers by the action they support
A deep box can hold many supplies but make the bottom layer difficult to find. Shallow trays, a few sturdy cups, or simple divided containers may work better. Keep pencils together with usable paper rather than storing every category in a different room. Place frequently used items where the child can reach them safely. Use labels the child can understand, including a simple drawing if helpful. Avoid a container so tightly packed that putting things away requires adult precision. The arrangement should tolerate ordinary use. If a child needs to remove four boxes to reach the glue, the system is asking too much before the creative activity has even begun.
Keep the working selection small
Offer enough choice to make decisions meaningful without making setup exhausting. A few colors, two kinds of paper, and one reliable adhesive may be plenty for a collage session. Keep reserve supplies elsewhere and refill as needed. Rotating materials can be useful, but it is not necessary to create a themed kit every week. Familiar tools allow a child to return to an idea. If you do introduce something new, explain how it works and any relevant limit, then leave room for experimentation. Do not require every available item to appear in the finished piece. Unused materials are not evidence that the kit failed; they may simply have been unnecessary for that day's plan.
Prepare the surface before opening the supplies
A reusable mat, an old cloth, or another suitable covering can make the boundaries of the work area clear. Keep the setup stable and protect floors if the activity calls for it. For painting, use a sensible amount of water in a stable container and keep electrical items away. Put a cloth for small spills nearby before they occur. An adult should choose a location where supervision is realistic, not merely where mess is least visible. Explain any household limits briefly: paper stays on the mat, or wet work dries on a particular shelf. Clear limits help children use materials with confidence because they do not have to discover the rules through an adult's alarmed reaction.
Teach setup as a short sequence
Show the child a manageable sequence, such as placing the mat, choosing paper, and bringing one tray to the table. Do it together initially. A photograph of the ready workspace can be a useful reminder, but avoid making the child reproduce a perfect arrangement. The purpose is access and safety. If a step is repeatedly forgotten, consider whether it is necessary or whether the materials can be stored differently. An older child may prefer a written checklist they help create. A younger child may simply carry one part while the adult handles the rest. Independence can grow through a useful contribution without requiring the child to manage the entire process alone.
Give unfinished work a defined home
Cleanup is harder when the child believes it means losing the project. Provide a tray, folder, or clearly designated drying space for work in progress. Ask before changing the arrangement of a collage or dismantling something that has not been finished. Set practical limits on size and duration when needed. A family might keep one active project per child in a particular space, while photographing or recycling older experiments with the child's involvement. Avoid promising unlimited storage. A realistic place for current work makes it easier to clear the shared table without turning every meal into a dispute about whose activity matters more.
Make cleanup concrete and proportionate
“Clean everything up” can conceal a long sequence. Name a small task and work alongside the child: put the pencils in the cup while the adult closes the glue. Teach how to care for tools according to their instructions, including washing brushes promptly when appropriate. Keep cleanup materials safe and leave chemical cleaning products to an adult. A child who spilled water can help with a cloth without being shamed for the accident. Do not require a spotless room as the price of making art. The reasonable goal is a safe surface, tools ready for next time, and materials returned to places where they can be found.
A compact kit for a shared table
For a household that uses the dining table, try one tray containing suitable pencils, a small stack of paper, and the adhesive needed for a familiar activity. Store the protective mat beside the tray. Give unfinished work a separate folder so it does not have to fit between the tools. Test whether the child can carry the tray safely; if not, an adult carries it while the child brings the paper. At cleanup, return tools first, then move the work, then wipe the appropriate surface. This sequence keeps the project from being treated as rubbish and makes the table ready for its next use without a complicated storage system.
Review the kit through actual use
After a few sessions, check what makes the routine easier or harder. Are caps difficult to replace? Is the paper too large for the storage folder? Does the glue work on the materials the child uses? Remove dried-out or damaged supplies and replenish only what is needed. Invite the child to identify one change that would help. A useful kit may become simpler over time as you learn which tools earn their space. The measure is not how impressive it looks in a photograph. It is whether the family can begin a creative activity with manageable preparation, enjoy the making, and leave the materials ready for another ordinary day.
Have a correction or a question? Write to the Amenkingdj team.